Dedicated server
Ideal for companies or large projects that require dedicated resources. Offers maximum power and security, but tends to have a higher cost.
VPS Server (Virtual Private Server)
An intermediate solution, perfect for medium-sized projects that need flexibility, customization and good performance.
Cloud Server
Scalable, flexible and you pay only for the resources you use. It is an ideal option if your project can grow quickly or has variable needs.
visit our blog How to find out where my domain is registered
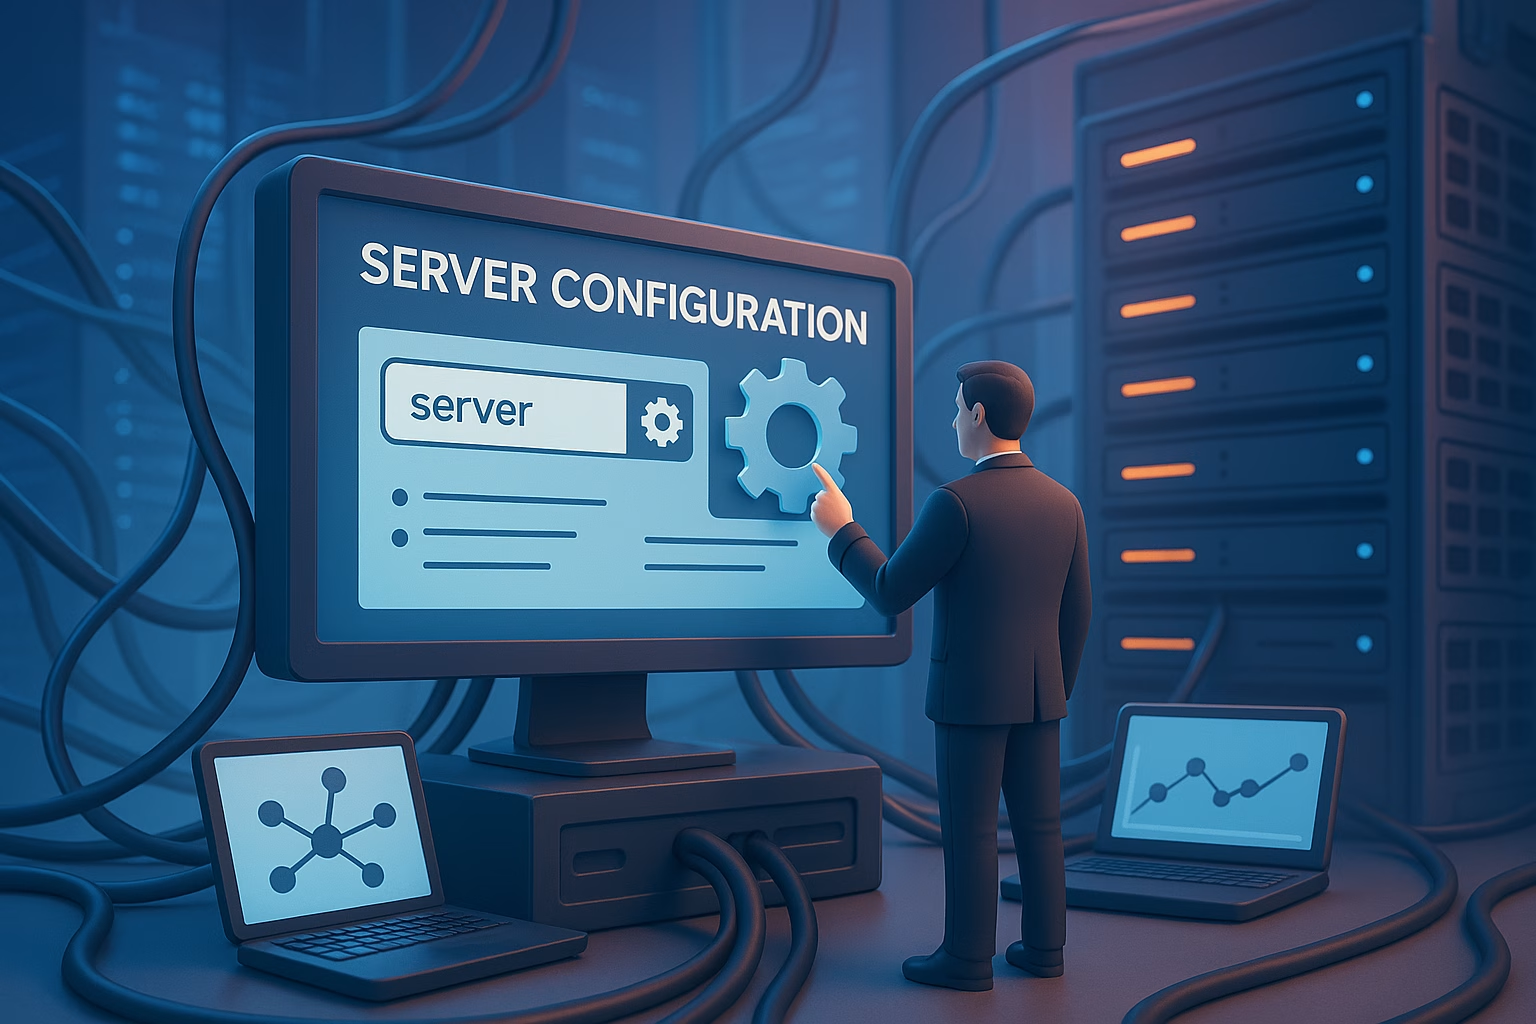
What do you need to create your private server?
Hardware
Powerful and modern CPU (preferably multi-core).
Adequate RAM memory according to the expected load (minimum 8GB for serious projects).
SSD storage for better performance.
Software
Operating system: Linux (Ubuntu, CentOS) or Windows Server.
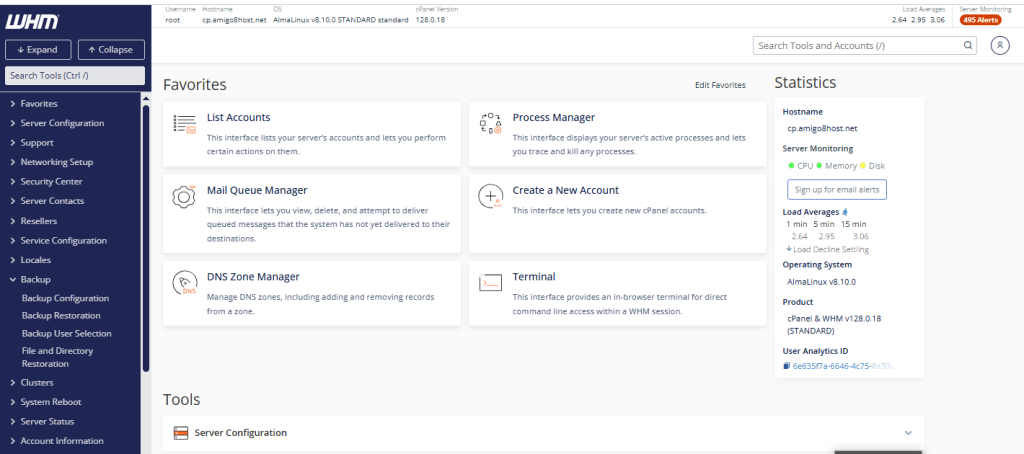
Control panel: cPanelPlesk, Plesk, Webmin or VestaCP depending on your experience and needs.
Internet connection
Symmetrical and stable connection.
Public IP or domain assigned for external accessibility

Steps to create your private server
Step 1: Hardware preparation
Select the right components or purchase a server already set up. If it is in the cloud or VPS, choose a plan that suits your needs.
Step 2: Operating system installation
Download an ISO of the operating system and install from bootable media or via web console.
Step 3: Network and DNS configuration
Assign a fixed IP address, set up your domain with a DNS provider (such as ClickPanda), and make sure that the necessary ports are open.
Step 4: Installation of software and control panels
Install server tools such as Apache, Nginx or Litespeed. Then, install a control panel for easier management.
Step 5: Security and backup
Activate a firewall (such as UFW or CSF), set up automatic backups and keep the system up to date.
Why choose ClickPanda for your private server?
24/7 technical support: Access expert help at any time.
Reliable infrastructure: Robust servers with high availability.
Scalability: Grow with your project without complications.
Ease of use: Intuitive panels and preconfigured tools.
Quick comparison
| Feature | ClickPanda | Other suppliers |
|---|---|---|
| 24/7 support | ✅Yes | ❌ Limited |
| Panels included | ✅cPanel, VestaCP | ❌ Additional charge |
| Affordable prices | ✅From $999,900/month | ❌ More expensive |
| Easy scalability | ✅Yes | ❌Requires migration |